Smart Bird Feeder WiFi Setup Guide for Every Brand
Smart Bird Feeder WiFi Setup Guide for Every Brand
You've unboxed your new smart bird feeder, downloaded the app, and now you're staring at a connection screen that won't budge. The feeder is charged. Your phone has signal. And yet, nothing. If you've landed here after twenty minutes of frustrated troubleshooting, you're in good company — connecting a smart bird feeder to WiFi trips up a surprising number of people, and the reasons are almost always the same handful of fixable issues.
This guide covers the complete WiFi setup process for every major smart bird feeder brand, including Bird Buddy, Birdfy, and others. Whether you're doing initial setup or diagnosing a dropped connection, the information below will get your feeder online and streaming.
Key Takeaways
- All major smart bird feeders require a 2.4GHz WiFi network — separate your router's 2.4GHz band with its own SSID before starting setup.
- Run a speed test at the feeder's physical location; you need at least 2 Mbps upload speed or the feeder will drop connection repeatedly.
- Bird Buddy pairs via Bluetooth first, then hands off to WiFi in 60–90 seconds; Birdfy scans a QR code held 6–8 inches from the camera lens.
- Brick exterior walls reduce WiFi signal by nearly 40%; a $30–$60 extender positioned between the router and feeder resolves most distance failures.
- Clean the seed reservoir every two weeks with a 1:9 bleach-to-water solution and wipe the solar panel every two to three weeks to maintain charging efficiency.
Why Smart Bird Feeder WiFi Setup Fails (And What to Fix First)
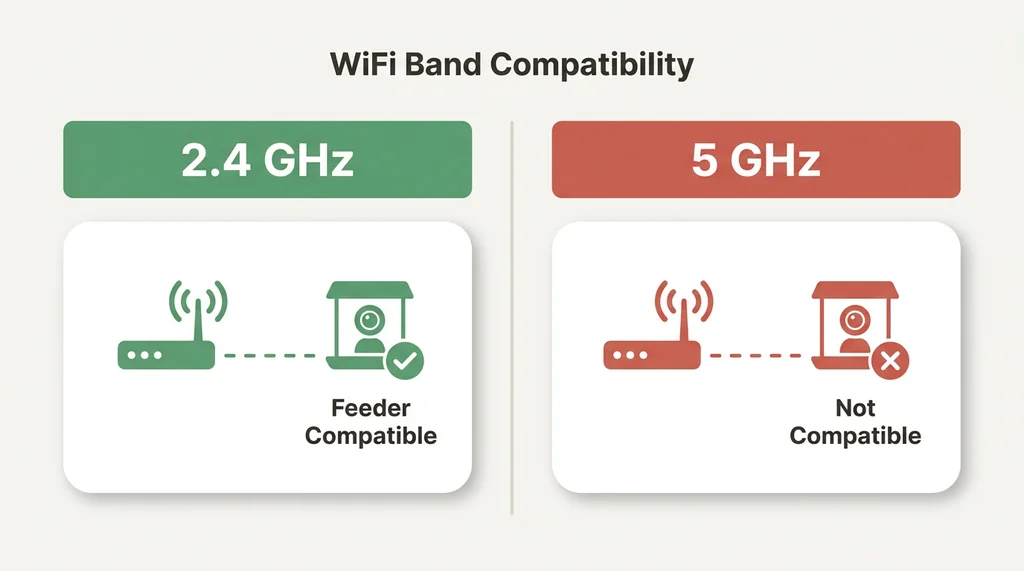
Before touching any app or button, understand one universal rule: every major smart bird feeder brand operates exclusively on 2.4GHz WiFi networks. Not 5GHz. Not a mesh network's combined band. Specifically 2.4GHz.
This is the single most common reason smart bird feeder WiFi connections fail, and it catches people off guard because most modern routers broadcast both frequencies under the same network name. Your phone connects to whichever band is strongest at that moment — often 5GHz — and when the feeder tries to handshake with the router, the frequencies don't match.
The fix is straightforward but requires a few minutes in your router's admin settings:
- Open a browser on any device connected to your home network
- Navigate to your router's admin page — typically found at 192.168.1.1 or 192.168.0.1
- Log in with your router credentials (often printed on the router itself)
- Find the wireless settings section and look for band settings
- Create a separate network name (SSID) specifically for your 2.4GHz band
Once your 2.4GHz network has its own distinct name, you can connect your phone to that specific network before beginning feeder setup. This eliminates band-switching confusion during pairing.
The second pre-setup check: upload speed. Smart feeders require a minimum of 2 Mbps upload speed at the feeder's physical location — not at your router, not at your phone. Run a speed test from where the feeder will hang. If upload speed drops below 2 Mbps at that spot, the feeder will connect but stream poorly or drop connection repeatedly.
A third factor that surprises people: exterior walls. Brick siding can reduce WiFi signal strength by nearly 40%. If your feeder hangs on the far side of a brick exterior wall from your router, you may need a dedicated WiFi extender positioned between the router and the feeder. A basic extender runs $30 to $60 and solves the problem cleanly.
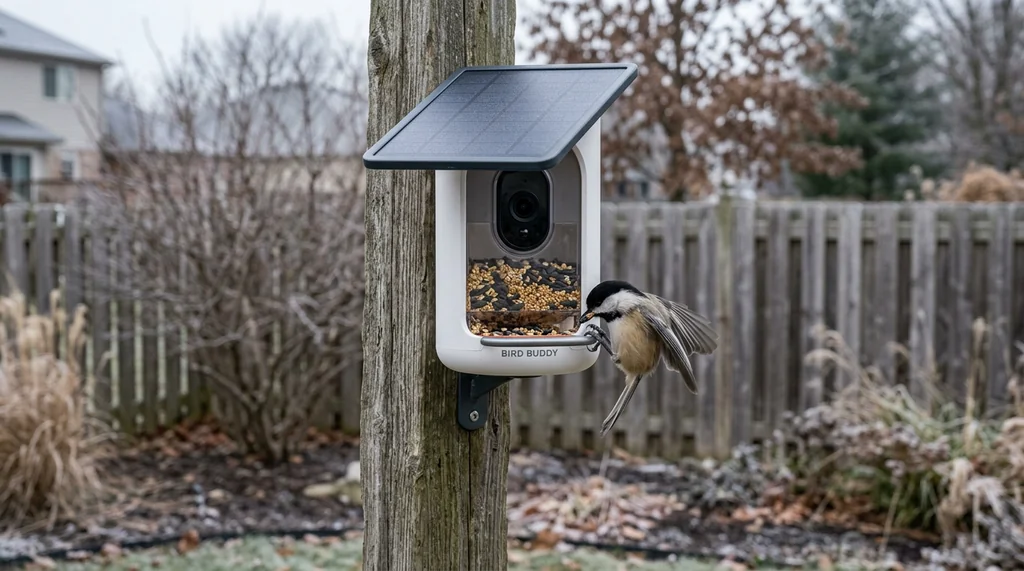
Bird Buddy WiFi Setup: Step-by-Step
Bird Buddy uses a two-stage connection process: Bluetooth for initial pairing, then WiFi for ongoing operation. Understanding this distinction prevents a lot of confusion.
Before you begin:
- Charge the Bird Buddy to at least 20% battery. Most feeders won't attempt pairing below this threshold.
- Connect your phone to your 2.4GHz network specifically.
- Enable Bluetooth on your phone — you'll need it for the handshake.
Setup steps:
- Download the Bird Buddy app and create an account if you haven't already.
- Open the app and tap "Add Feeder."
- The app will search for nearby Bird Buddy devices via Bluetooth. Hold your phone within a few feet of the feeder during this step.
- When your feeder appears, select it and follow the prompts to enter your WiFi network name and password. Double-check that you're entering credentials for your 2.4GHz network, not your 5GHz band.
- The feeder will complete its connection and hand off from Bluetooth to WiFi. This takes roughly 60 to 90 seconds.
- Once connected, the app will prompt you to place the feeder. The Bird Buddy app allows up to ten people to share access to a single feeder — useful for households where multiple people want to receive bird visit notifications.
If Bird Buddy won't connect:
The most common culprit after the 2.4GHz issue is feeder placement relative to the router. Bird Buddy's camera sensor captures 5-megapixel photos and 720p HD video, which requires a stable connection to upload. If your feeder is more than 50 feet from the router with walls in between, signal degradation becomes a real factor.
Check that the camera module's protrusions align correctly with the cover's buckle slits — misalignment prevents the pairing mode from activating properly. If the feeder has been sitting unused, a full charge cycle before setup often resolves mysterious connection failures.
Birdfy WiFi Setup: The QR Code Method
Birdfy takes a different approach to initial pairing. Rather than Bluetooth, Birdfy uses a QR code displayed on your phone screen that the feeder's camera reads directly. It's an elegant system when it works, and occasionally finicky when lighting conditions aren't ideal.
Before you begin:
- Confirm your phone is connected to your 2.4GHz network.
- Birdfy requires a minimum 2 Mbps upload speed at the feeder location — same as Bird Buddy.
- Charge the feeder fully before attempting setup.
Setup steps:
- Download the Birdfy app and create your account.
- Open the app and select "Add Device."
- The app generates a QR code on your screen. Hold the phone screen approximately 6 to 8 inches from the feeder's camera lens.
- The feeder will beep or flash when it successfully reads the QR code.
- Enter your 2.4GHz network credentials in the app.
- The feeder connects and begins its initialization sequence, which takes 2 to 3 minutes.
If Birdfy won't scan the QR code:
Ambient lighting is the usual issue. Direct sunlight washing out the phone screen prevents a clean scan. Try shading your phone screen with your hand or moving to a shadier spot for setup. Indoor setup near a window works well.
Birdfy feeders offer 1080p or 2K resolution depending on the model, with a 1.5-liter (approximately 6-cup) seed capacity. The Birdfy's solar panel is detachable and adjustable, which matters for placement decisions — you can orient the panel toward optimal sun exposure independent of where the feeder itself needs to hang for bird attraction.
How to Connect Any Smart Bird Feeder to WiFi: Universal Troubleshooting
If you're setting up a brand not covered above, or if the brand-specific steps haven't resolved your issue, work through this universal troubleshooting sequence.
Step 1: Verify 2.4GHz compatibility All major smart feeder brands operate on 2.4GHz. This is non-negotiable. Confirm your phone is on the correct band before any other troubleshooting.
Step 2: Check signal strength at feeder location Walk to where your feeder will hang with your phone. Run a speed test. You need at least 2 Mbps upload. If signal is weak, a WiFi extender positioned between the router and feeder resolves most cases. Exterior brick walls reduce signal strength by nearly 40% — account for this if your feeder hangs on the far side of a brick exterior.
Step 3: Confirm charge level Most feeders won't initiate pairing below 20% battery charge. Charge fully, then attempt setup.
Step 4: Restart everything Power cycle the feeder completely. Restart your phone. Restart your router. Attempt setup fresh. This resolves a surprising percentage of stubborn connection failures.
Step 5: Check for network security conflicts Some routers with advanced security settings (AP isolation, guest network restrictions, or MAC address filtering) block new device connections. If you're on a guest network or a corporate network extended to your home, these settings may be preventing the feeder from connecting. Standard home networks rarely have this issue.
Step 6: Distance and interference If the feeder connects but drops repeatedly, distance or interference is the most likely cause. Microwaves, baby monitors, and older cordless phones all operate on frequencies that can interfere with 2.4GHz signals. A WiFi extender dedicated to the feeder's location costs $30 to $60 and provides a stable connection point independent of household interference.
Solar Panels and Battery Management for Smart Feeders
Once your smart bird feeder is connected, battery management becomes the ongoing maintenance consideration most people underestimate.
Solar requirements: The solar panels on current smart feeder models require at least four hours of direct sunlight daily to be effective. Note the word "direct" — light through a window or dappled through tree cover doesn't count. Pollen and dust accumulation on solar cells can reduce charging efficiency by roughly 20%, so wipe the panel with a soft damp cloth every two to three weeks.
Winter solar performance: The sun sits lower in the sky from October through February. Spots that receive full sun in summer may be shaded in winter. Before committing to a permanent feeder location, observe sun exposure across seasons. Users north of roughly 40° North latitude should expect significantly reduced solar charging in winter months.
Battery life reality: In high-traffic yards, battery life can drop from the advertised one month to five or six days. Cold weather compounds this — battery capacity drops 30% to 50% during cold snaps. If you're in a cold climate with active bird traffic, plan for more frequent charging or invest in a model with a larger battery capacity. Birdfy's premium models reach 9,000 mAh and feature removable battery packs that allow hot-swapping without bringing the feeder indoors.
Feeder placement and the solar conflict: Here's the tension nobody mentions in setup guides. The spots that attract the most birds — within 10 to 15 feet of dense shrubs and trees, partially shaded in afternoon — are often the worst spots for solar charging. Direct sun and bird-attracting cover don't always overlap. If you're choosing between optimal bird attraction and optimal solar performance, consider a model with a detachable, repositionable solar panel that can be aimed independently of the feeder's position.
Getting the Most From Your Smart Feeder Once Connected
Connection established. Now a few setup decisions that affect long-term satisfaction.
Notification management: High-traffic feeders can generate 50 or more daily notifications for a single returning bird. Configure your app's notification settings during the first week of use. Most apps allow you to filter by species, time of day, or confidence threshold. Start with conservative settings and expand from there.
Feeder placement for camera quality: Smart feeder cameras perform best with consistent, indirect light on the feeding area. North-facing feeders often produce better image quality than south-facing ones because they avoid the harsh backlit conditions that blow out bird detail in photos and video.
Seed reservoir maintenance: Clean the seed reservoir every two weeks using a 1:9 bleach-to-water solution, rinse completely, and dry fully before refilling. This applies regardless of brand. Wet seed molds quickly and can harm birds — the camera will document exactly which birds visit, so it's worth ensuring what they're eating is fresh.
Squirrel interference: Smart feeders identify squirrels accurately but don't deter them. The 5-7-9 rule applies here: position feeders 5 feet high, 7 feet from any horizontal jumping surface, and 9 feet below any overhead point a squirrel could drop from. Squirrels can leap horizontally up to ten feet and jump vertically nearly five feet from a standing position. Placement math matters more than any app setting.
Getting a smart bird feeder online takes maybe fifteen minutes once you understand the 2.4GHz requirement and signal strength basics. The troubleshooting steps above cover the vast majority of connection failures across all major brands. Once connected, these feeders genuinely change how you experience the birds in your yard — there's something different about having a name and photo attached to a bird you've watched for years. The technology has earned its place at the feeder pole.