Hummingbird Food Recipe: 1:4 Sugar Water That Works
How to Make Hummingbird Food: The Only Recipe You Need
Three billion birds have vanished from North American skies since 1970. That statistic stopped me cold when I first read it — a 29% decline in just over fifty years. It's the kind of number that makes you want to do something, anything, to help. And if you're reading this, you probably feel the same way.
Here's the good news: making hummingbird food is genuinely one of the easiest things you can do for wildlife. Two ingredients. Four minutes. No special equipment. I know that sounds too simple, but after three years of feeding hummingbirds — including a humbling first season with seventeen failed attempts and $62 wasted on commercial products I didn't need — I can tell you that the simplicity is the point. The birds don't want complexity. They want fuel, and they want it clean.
This is the only hummingbird nectar recipe you'll ever need, along with everything that actually matters about making it, storing it, and keeping your feeders safe.
Key Takeaways
- Use a 1:4 ratio of white granulated sugar to water — no red dye, honey, corn syrup, or artificial sweeteners
- Boiling is optional; the critical step is cooling nectar completely before filling feeders to prevent fermentation
- Store homemade nectar in a glass jar in the refrigerator for up to two weeks; change feeder nectar every 3–5 days (every 2–3 days in heat above 75°F)
- Clean feeders with a 1:9 bleach-to-water solution every time you change the nectar, rinsing thoroughly until no bleach smell remains
- Put feeders out 1–2 weeks before expected spring arrival and keep them up 2 weeks after the last fall sighting — feeders do not delay migration
The Recipe: Two Ingredients, One Ratio
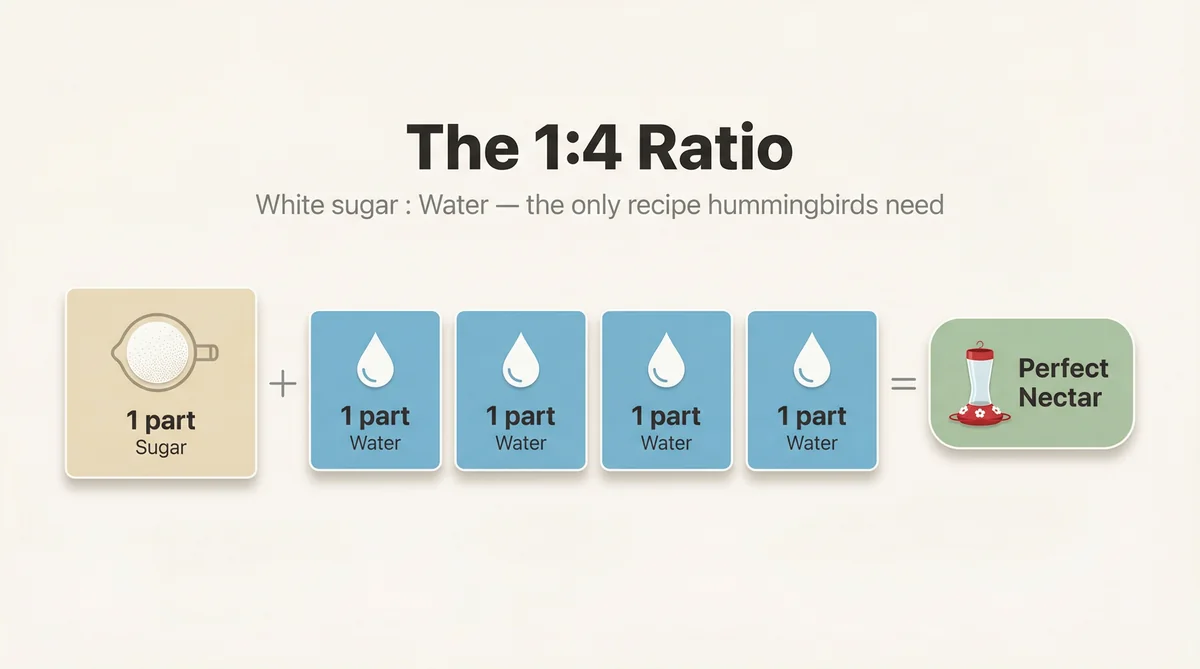
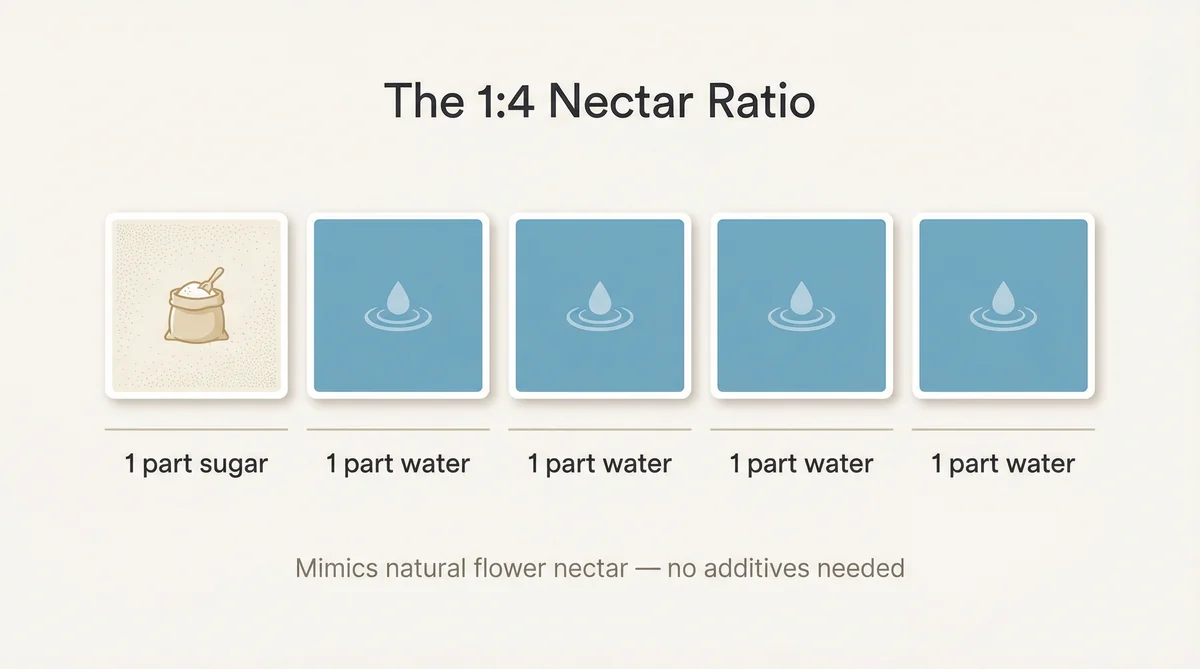
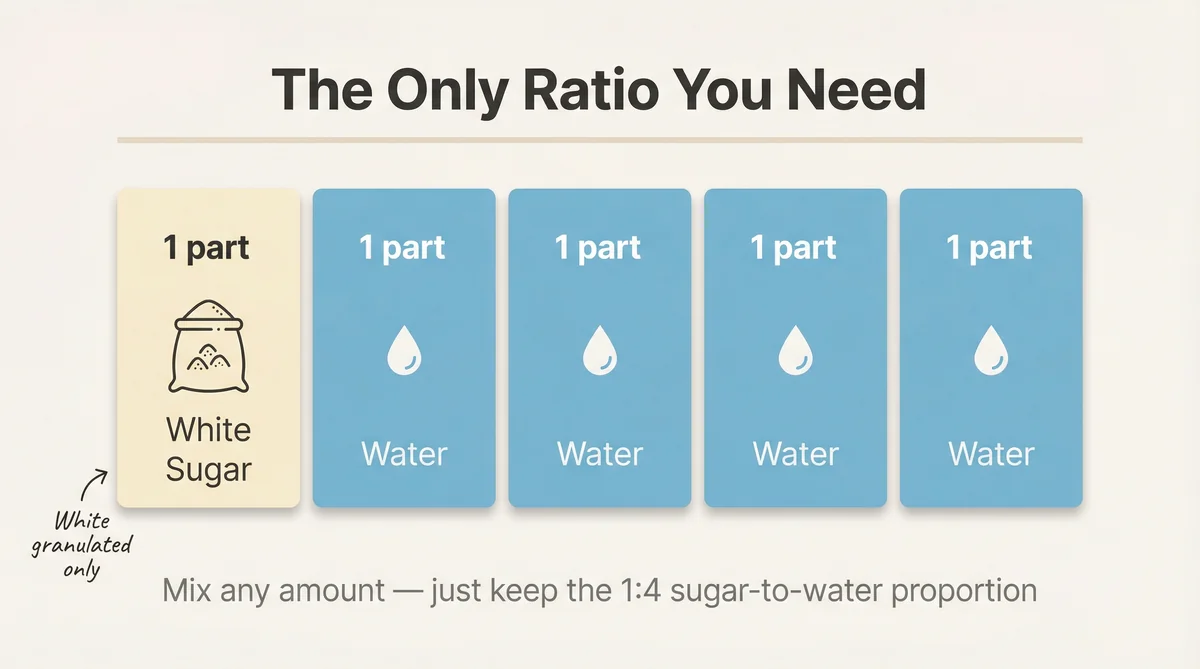
The entire formula fits in a single line: one part white granulated sugar to four parts water.
That's it. No red dye. No honey. No "nectar enhancers" or vitamin additives. Just sugar and water in a 1:4 ratio, validated by the Smithsonian's National Zoo and Conservation Biology Institute, the Audubon Society, and every serious ornithologist who has studied hummingbird physiology. This ratio closely mirrors the natural sucrose concentration found in the flower nectar hummingbirds evolved to consume — not too sweet, not too dilute, exactly what their extraordinary metabolisms are built to process. For a deeper look at the science behind the ratio, see our sugar-to-water ratio guide.
For practical purposes, the most useful batch sizes are:
- ¼ cup sugar + 1 cup water (small batch, perfect for a single feeder)
- ½ cup sugar + 2 cups water (double batch, fills multiple feeders with refrigerator surplus)
- 1 cup sugar + 4 cups water (large batch for peak season when you're refilling constantly)
A "part" can be any unit of measurement — cups, ounces, quarts — as long as both measurements use the same unit. The ratio is what matters, not the scale. For exact amounts at the batch sizes people search for — 1 cup, 1 quart, ½ gallon — see the hummingbird nectar ratio chart.
How to Make It: Step by Step
The Water Question
There's some debate about whether you need to boil the water, and the honest answer is: it depends on your preference, not on necessity.
The Smithsonian's National Zoo is explicit on this point — boiling is not required. Tap water is perfectly acceptable. The sugar simply needs to dissolve completely, which you can accomplish by stirring or shaking vigorously at room temperature. If your tap water is cold and dissolution feels sluggish, warming the water speeds things up considerably.
That said, many experienced feeders — myself included — use hot water out of habit. Heat accelerates dissolution and produces a cleaner mixture. The method I've settled into after three years: bring water to a boil in a kettle, pour it over the measured sugar in a heat-safe container, stir for about thirty seconds until fully dissolved, then let it cool completely before filling feeders. Start to finish, a double batch takes exactly four minutes from kettle to refrigerator.
The critical step is that final one: cool completely before filling. Warm nectar ferments faster and can stress or harm the birds. Room temperature or cold from the refrigerator is what you want.
The Sugar Question
Use refined white granulated sugar. The kind in the standard bag at any grocery store. Nothing else.
This is not a place for nutritional upgrades or natural alternatives. The sources on this are unanimous and unambiguous:
Never use honey. Honey ferments rapidly in solution and can promote dangerous fungal growth that causes a fatal tongue disease in hummingbirds.
Never use corn syrup. The chemical composition differs from sucrose in ways that don't serve hummingbird digestion.
Never use raw, turbinado, or unprocessed sugars. These contain molasses and mineral compounds that may interfere with hummingbird kidney function at the concentrations they consume.
Never use powdered (confectioners') sugar. It often contains cornstarch as an anti-caking agent, introducing an unnecessary additive.
Never use artificial sweeteners. Zero-calorie sweeteners provide zero energy. A hummingbird consuming half its body weight in sugar daily — which is genuinely what their metabolic rate demands, with a heart beating up to 1,260 times per minute and wings moving 50 to 80 times per second — needs actual caloric fuel. Artificial sweeteners would be actively dangerous.
Refined white table sugar is pure sucrose. That's what flowers produce. That's what hummingbirds need.
The Red Dye Question
Skip it entirely. The Smithsonian's National Zoo states this directly: do not add red dye.
Red dyes in commercial nectar have been associated with potential kidney damage in hummingbirds, and there is zero benefit to adding them. Hummingbirds are attracted to the color red on your feeder itself — the ports, the base, the decorative elements. They do not need their food to be red. The first $12 bottle of red nectar concentrate I ever bought still sits in my pantry, mostly full, three years later. It was the most expensive lesson in unnecessary purchasing I've had in this hobby, and I want to save you from the same mistake.
Clear nectar is correct nectar.
Storage: Making Batches That Last
Once you've made a batch, extra nectar stores beautifully in the refrigerator. A glass jar with a tight lid works best — glass doesn't absorb odors or leach compounds the way some plastics can over time. Stored properly, homemade nectar stays fresh for up to two weeks in the refrigerator.
This is genuinely useful during peak season. By early June, I'm refilling three feeders twice daily. Making a large batch on Sunday and storing the surplus means midweek refills take thirty seconds rather than four minutes. The math during peak season is relentless — a territorial male returning every 12 to 15 minutes throughout the day, a persistent female nesting somewhere in the maple tree, last year's juveniles now returning as adults and competing for territory — and having refrigerated nectar ready is the difference between staying ahead of demand and constantly scrambling.
The practical tip that makes a real difference: keep your stored nectar in a clearly labeled jar so no one accidentally uses it for something else. Ask me how I know this is worth mentioning.
Feeder Maintenance: The Part That Actually Matters
The recipe is simple. The maintenance is where most people underestimate the commitment — and where the health of your birds depends on getting it right.
How Often to Change the Nectar
Under normal conditions, change your nectar every 3 to 5 days. In hot weather above 75 degrees Fahrenheit, change it every 2 to 3 days. Nectar ferments and can grow mold and harmful bacteria faster than most people expect, especially in summer heat. A feeder that looks fine visually may have nectar that's already fermenting.
One practical strategy that helps: keep feeders in partial shade. Direct sun accelerates fermentation significantly. My primary feeder hangs in a spot that gets morning light and afternoon shade, and the difference in nectar longevity compared to a fully sunny position is noticeable.
How to Clean the Feeder
This step matters as much as the recipe itself. The Smithsonian's National Zoo recommends thorough cleaning every time you change the nectar — which, given the change frequency above, means every few days during active season.
A dilute bleach solution of 1 part bleach to 9 parts water is the standard cleaning protocol. Use a bottle brush to reach inside the reservoir and a small detail brush or pipe cleaner for the feeding ports. Rinse thoroughly — multiple times — until no bleach smell remains, then allow the feeder to dry completely before refilling. Residual bleach or moisture can harm birds.
Pay particular attention to the feeding ports and any crevices where nectar can pool and stagnate. Mold often establishes in those spots first, and once it takes hold in a feeder, it's difficult to fully eliminate without dedicated scrubbing.
Pest Prevention
Ants and wasps are the two most common feeder pests, and both are deterred by different strategies.
For ants, an ant moat — a small water-filled cup that hangs between the hook and the feeder — creates a barrier they can't cross. Basic ant moats cost between five and ten dollars and work reliably. A folk remedy that also has merit: a tiny amount of olive oil spread around each feeder port can deter ants, wasps, and earwigs without affecting the hummingbirds themselves.
For wasps, the most effective deterrent is keeping nectar levels low enough that it doesn't pool near the ports. Saucer-style feeders, where the nectar sits below the feeding level, are naturally less attractive to wasps than bottle-style feeders where nectar can drip.
Why Homemade Beats Commercial
The cost comparison is stark. During my first two months of hummingbird feeding, I spent $62 on commercial nectar products — concentrates, pre-mixed bottles, specialty formulas. I now spend approximately $4 per month on sugar during peak season. That's a $43 monthly savings, and the homemade version is demonstrably better for the birds because it contains nothing except what they need.
Commercial nectars often contain red dye, preservatives, and various additives that serve marketing purposes rather than hummingbird health. The "convenience" of pre-mixed nectar is real, but it takes four minutes to make a double batch from scratch. That's not a meaningful time cost.
The $12 bottle of red concentrate in my pantry represents the last commercial nectar I ever purchased. The recipe above replaced it permanently.
Timing: When to Put Feeders Out
The recipe is only useful if your feeders are up when the birds arrive. The timing guidelines that have served me well across three seasons:
Spring: Put feeders out 1 to 2 weeks before hummingbirds are expected in your region. In most areas, that means late March to early April. In my experience, having fresh nectar waiting when the first scout arrives matters — hummingbirds have remarkable spatial memory and will remember your yard as a reliable food source if it's stocked when they first pass through.
Fall: Keep feeders up for at least two weeks after you see your last hummingbird of the season. This is typically mid-September to early October in most of the continental United States. The conventional wisdom that feeders delay migration is not supported by evidence — hummingbirds migrate in response to day length, not food availability. Keeping feeders up ensures you're supporting late migrants and stragglers who genuinely need the fuel.
The Ruby-throated Hummingbird dominates in eastern states, with roughly 15 species of hummingbirds regularly visiting feeders across the country. Depending on your region, your seasonal window will vary, but the 1-to-2-weeks-early and 2-weeks-after-last-sighting framework applies broadly.
The Bigger Picture
Fifteen years ago, the idea that backyard feeders could matter at conservation scale would have seemed quaint. It no longer does. With bird populations in the U.S. and Canada down by approximately 3 billion individuals since 1970, supplemental feeding has taken on a different weight. Hummingbirds face particular pressure from habitat loss — the destruction of native flowering plants, the fragmentation of migration corridors, the disappearance of old-growth plantings that once provided reliable nectar sources.
A clean feeder with fresh homemade nectar doesn't solve those problems. But it provides real, measurable support to real birds making real journeys. The territorial male who arrives at 6:47 AM every morning, the female nesting in the maple, the juveniles from last year now returning as adults — they're not abstractions. They're individual animals with individual histories, and what you put in your feeder affects them directly.
The recipe is simple because it needs to be simple. One part sugar. Four parts water. Dissolve, cool, fill, repeat. Clean the feeder every few days. Skip the dye, skip the honey, skip the commercial products with ingredients you can't pronounce.
That's genuinely all there is to it — and it turns out that's enough.