How to Clean Hummingbird Feeders the Right Way
How to Clean Hummingbird Feeders the Right Way (And Why Your Brush Actually Matters)
Most people know they're supposed to clean their hummingbird feeders. Fewer people know how often, what to use, or why a cheap bottle brush from the dollar bin can make the difference between a feeder that works and one that quietly harms the birds you're trying to help.
After three years of maintaining hummingbird feeders — three feeders, twice-daily refills at peak season, and enough failed experiments to fill a small notebook — cleaning protocol is something I've thought about more than most people consider healthy. The short version: it's simpler than you think, but more important than most guides suggest. The longer version follows below, and it's worth reading before you reach for whatever cleaning supplies happen to be under your sink.
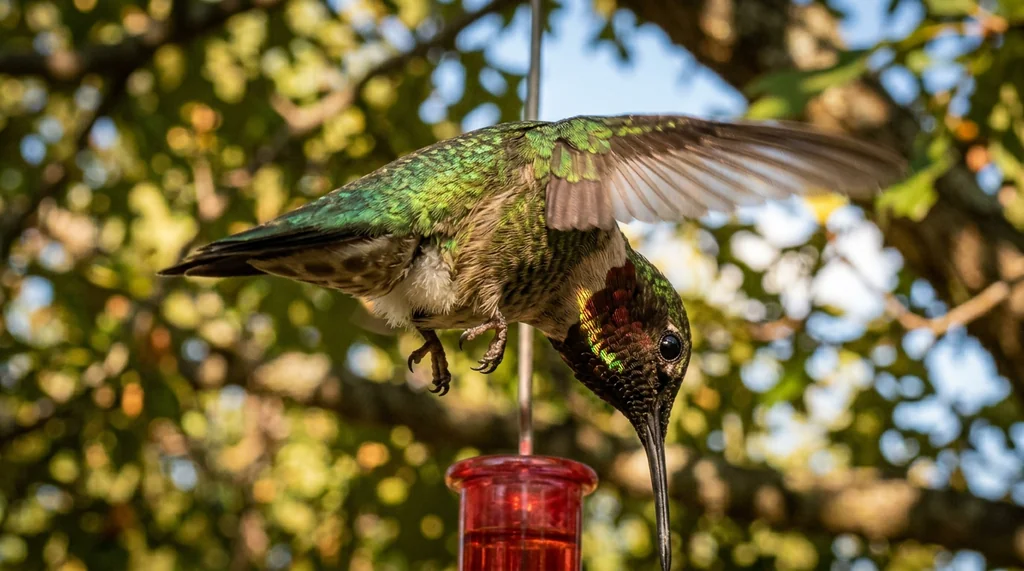
Hummingbirds must feed every 10 to 15 minutes throughout the day. They consume approximately half their body weight in sugar daily. That metabolic demand means they can't afford to be picky about feeders that look a little questionable — they'll drink cloudy nectar if that's what's available. Which is exactly why the responsibility falls entirely on the person holding the cleaning brush.
Key Takeaways
- Use a dedicated port brush to clean feeding ports — this is where mold starts and standard bottle brushes can't reach.
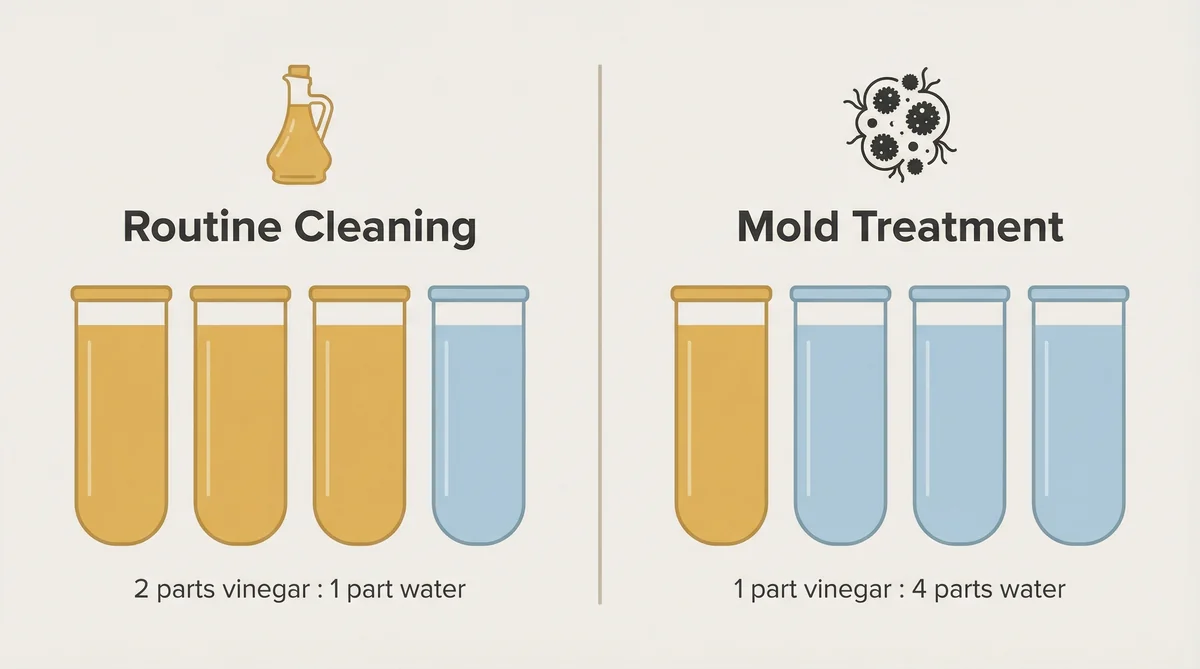
- Clean with a 2:1 vinegar-to-water solution for routine cleaning, or 4:1 water-to-vinegar for mold; always rinse at least three times.
- Clean twice weekly when temperatures exceed 75°F, weekly in mild weather, and immediately if nectar appears cloudy.
- Always fully disassemble feeders before cleaning and air dry completely before refilling to prevent immediate mold regrowth.
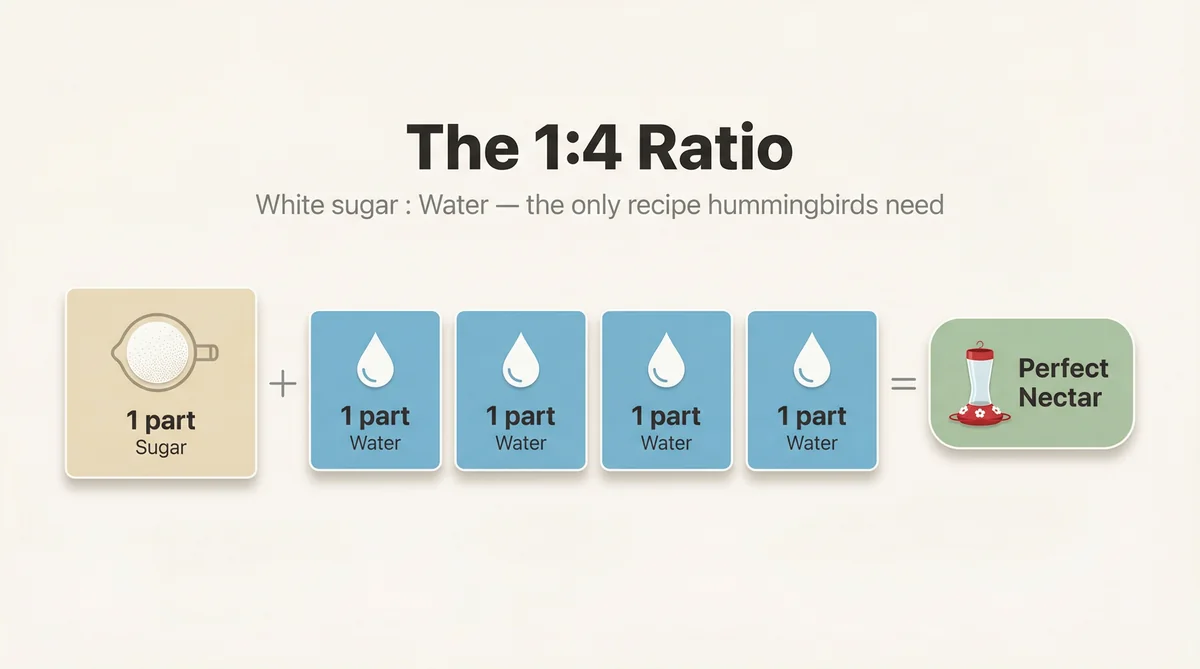
- Use only white granulated sugar and water (1:4 ratio) for nectar — no dye, honey, or commercial additives.
Why the Right Hummingbird Feeder Brush Changes Everything
Let's start with the tool most people overlook: the brush itself.
A standard kitchen bottle brush will clean the inside of a feeder reservoir reasonably well. What it won't reach are the feeding ports — those small openings where hummingbirds actually insert their bills. This is where mold establishes its first foothold. Nectar residue accumulates in the curved interior of each port, protected from casual rinsing by its own geometry. Without a dedicated hummingbird feeder brush — specifically one with a small, flexible tip designed for narrow openings — you're cleaning the parts of the feeder that need it least and missing the parts that need it most.
A proper cleaning kit for hummingbird feeders typically includes two brushes: one long-handled bottle brush for the reservoir and one small detail brush (sometimes called a port brush or straw brush) for the individual feeding ports. The detail brush is the one that matters most. It should be small enough to fit through the port opening, long enough to reach the interior curve, and flexible enough to scrub without cracking plastic components.
These kits run $5 to $10 and are available wherever hummingbird feeders are sold. If you're serious about maintaining feeders — and given what's at stake for the birds, you should be — this is the first purchase to make.
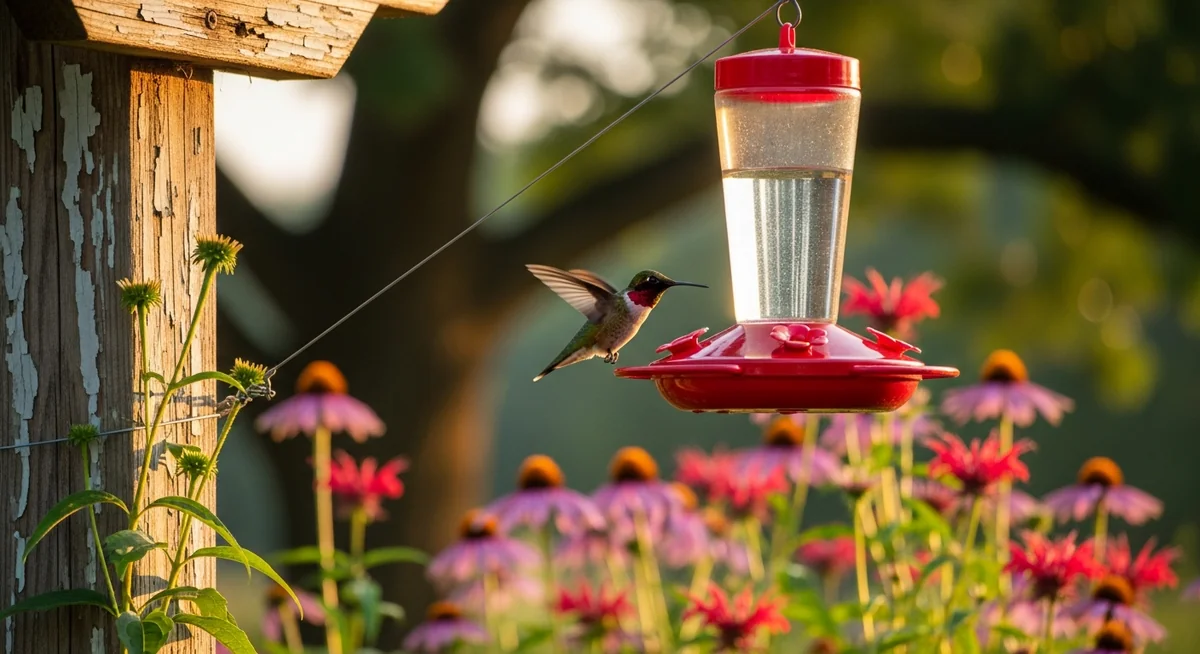
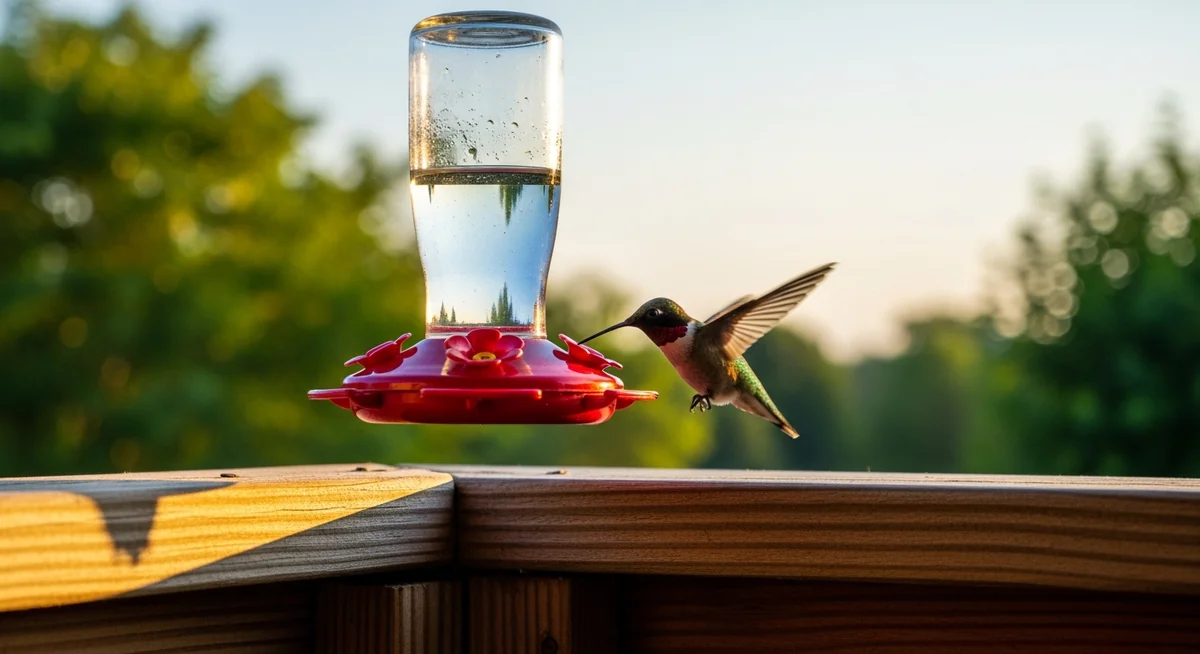
The feeder type you own affects which brush configuration works best. Saucer-style feeders, which have shallow reservoirs and feeding ports that access the nectar from above, are generally easier to clean and require less specialized equipment. The ports are accessible, the reservoir can be scrubbed with a standard brush, and the whole assembly often fits in a dishwasher. Bottle-style feeders, which hold nectar in a vertical reservoir that feeds ports below, require more attention — the narrow neck makes interior scrubbing difficult without the right tool, and the ports are recessed in ways that trap residue.
If you're using a bottle-style feeder and struggling with recurring mold despite regular cleaning, the brush is often the issue. Switching to a proper port brush frequently solves the problem without requiring any change to cleaning frequency or solution.
Cleaning Hummingbird Feeders with Vinegar Water: The Method That Actually Works
The cleaning solution question generates more confusion than it deserves. Here's what wildlife rehabilitation professionals and the Cornell Lab of Ornithology actually recommend: white vinegar.
The standard protocol for cleaning hummingbird feeders with vinegar water uses a 2:1 ratio — two parts vinegar to one part water. Soak the disassembled feeder for 30 minutes to an hour, then scrub with your brushes, then rinse thoroughly. The thorough rinse is non-negotiable. Vinegar leaves a strong residue that hummingbirds can detect, and if they taste it, they'll reject the feeder. A minimum of three complete rinses with clean water, making sure water runs clear through every port, ensures no traces remain.
For feeders with visible mold — black spots in the reservoir or at the ports, or a slick film on interior surfaces — a stronger solution is appropriate: 4 parts water to 1 part white vinegar. The higher water ratio might seem counterintuitive for a tougher job, but this formula is specifically calibrated for extended soaking on mold-affected surfaces. Let it work for a full hour, then scrub and rinse as above.
The vinegar approach works because it's genuinely effective against mold and bacteria without introducing chemicals that could harm birds. Dish soap is an option, but it requires even more thorough rinsing — hummingbirds will reject a feeder that tastes of soap, and some dish soaps contain dyes and perfumes that add unnecessary variables. If you use dish soap, rinse until you're certain, then rinse again.
Boiling water is effective for glass or metal feeders that can withstand the temperature. It kills bacteria without leaving any residue, making the rinsing step simpler. The limitation is obvious: plastic feeders can warp or crack under boiling water, so check your feeder's material before attempting this method.
For glass feeder components, the dishwasher is a legitimate option. Place glass parts on the top shelf, run a normal cycle, and inspect thoroughly afterward. Non-glass components — rubber gaskets, plastic ports, decorative elements — should be hand-washed, as dishwasher heat and detergent can degrade these materials over time.
How Often You Should Actually Be Cleaning
This is where most guides go wrong by giving a single answer to a question that depends entirely on conditions.
The baseline recommendation is to rinse feeders with hot water every time you refill them. This takes two minutes and removes fresh nectar residue before it has time to ferment or grow mold. It's not a deep clean, but it dramatically extends the interval between full cleanings.
Full cleaning frequency depends on temperature:
Above 75 degrees Fahrenheit: Clean twice weekly, minimum. Warm temperatures accelerate nectar fermentation significantly. Nectar that would stay fresh for five days in mild weather can spoil in two days when temperatures climb. If you're in the middle of a heat wave and maintaining feeders diligently, you may find yourself cleaning every other day.
Mild conditions: Once a week is generally sufficient for a full vinegar clean, with hot-water rinses at each refill.
High-traffic feeders: If birds are emptying the feeder daily — and by peak season this is entirely possible — clean it each time you refill it. An empty feeder that sits for even a few hours in warm weather can develop a biofilm on interior surfaces that a simple refill won't address.
Humidity accelerates nectar degradation independently of temperature. In humid climates or during humid stretches of weather, err toward more frequent cleaning even if temperatures seem moderate.
The clearest signal that immediate cleaning is required: nectar that appears cloudy or milky. Fresh nectar is clear. Any cloudiness indicates bacterial or fungal growth, and that feeder needs to be emptied, cleaned, and refilled before the next bird visits. Don't wait for your scheduled cleaning day. Cloudy nectar is a health hazard for hummingbirds, and these birds are feeding every 10 to 15 minutes — they don't have the option of skipping a contaminated feeder if it's the one available.
Visible mold — black or dark spots anywhere in the feeder — triggers the same response: immediate cleaning with the stronger vinegar solution, extended soaking, thorough scrubbing of every surface, complete rinse, and air drying before refilling.
The Complete Cleaning Process, Step by Step
Knowing what to do is different from knowing how to do it in sequence. Here's the full protocol:
Step 1: Disassemble completely. Every feeder that can be taken apart should be taken apart. Reservoirs, bases, ports, perch rings, and any decorative components should all be separated. Mold hides in the connections between components — the joint where the bottle meets the base on a bottle-style feeder is a particularly common problem area.
Step 2: Discard remaining nectar. Don't try to salvage nectar that's been sitting in a feeder. Even if it looks clear, it's been exposed to bird bills, insects, and ambient bacteria. Pour it out.
Step 3: Rinse with hot water. Before applying any cleaning solution, rinse all components with hot water to remove loose residue. This makes the vinegar soak more effective.
Step 4: Prepare vinegar solution and soak. Mix your 2:1 vinegar-to-water solution (or the 4:1 water-to-vinegar formula for mold-affected feeders) and submerge all components. Thirty minutes for routine cleaning, up to an hour for mold treatment.
Step 5: Scrub with appropriate brushes. Use your long-handled brush for reservoir interiors and your port brush for each feeding port individually. Pay extra attention to any areas with visible discoloration. The goal is physical removal of residue, not just chemical treatment — the soak loosens material, the scrubbing removes it.
Step 6: Rinse thoroughly. Multiple complete rinses with clean water. Run water through every port. Continue until you can't detect any vinegar smell.
Step 7: Air dry completely. This step is skipped more often than any other, and it matters. Moisture left in a feeder creates ideal conditions for immediate mold regrowth. Set components on a clean dish rack or towel and let them dry fully before reassembly and refilling. If you're in a hurry, a clean cloth can dry exterior surfaces, but interior surfaces need air circulation.
Step 8: Refill with fresh nectar. The standard recipe remains 1 part white granulated sugar to 4 parts water. No red dye, no commercial additives, no honey. Just sugar and water.
Establishing a Cleaning Routine That Actually Sticks
The most effective cleaning schedule is one you'll actually follow. For most people in temperate climates during active hummingbird season — roughly May through September — a workable routine looks like this:
- Every refill: Hot water rinse of all components
- Twice weekly during hot weather: Full vinegar clean with brush scrubbing
- Weekly during mild weather: Full vinegar clean with brush scrubbing
- Immediately upon observation: Cloudy nectar, visible mold, or unusual odor triggers a full clean regardless of schedule
Batch your cleaning with your nectar preparation. If you're making a fresh batch of nectar, clean the feeder while the water is heating. The tasks take roughly the same amount of time and share the same kitchen space, making it natural to do them together.
If you maintain multiple feeders — and spacing feeders apart is genuinely useful for reducing territorial conflict among visiting hummingbirds — stagger your cleaning days so you're not doing all feeders simultaneously. One feeder cleaned Monday and Thursday, another Tuesday and Friday, creates a manageable rhythm without large single-day time commitments.
The investment in proper tools — a dedicated hummingbird feeder brush set, a bottle of white vinegar kept near the sink — makes the difference between cleaning feeling like a chore and cleaning feeling like a two-minute routine. The birds visiting your feeders are burning through half their body weight in sugar every single day. Keeping the source of that sugar clean is the most direct thing you can do to support them.
A clean feeder, properly maintained, is a feeder that works. And a feeder that works is one that hummingbirds will return to, season after season, with the kind of reliability that makes the whole endeavor worthwhile.