8x42 Binoculars for Bird Watching: How to Choose
Best 8x42 Binoculars for Bird Watching: A Practical Guide to Choosing the Right Pair
The difference between a frustrating birding experience and a genuinely rewarding one often comes down to a single piece of equipment. Not your feeder placement. Not your seed selection. Your binoculars. Specifically, whether you're using the right configuration for how and where you actually watch birds.
After three years of watching cardinals, chickadees, and the occasional pileated woodpecker from my kitchen window and backyard, I've developed strong opinions about optics. Some of those opinions came from research. Some came from my mother, Dr. Patricia Fielding, who has studied bird physiology for forty years and has used the same 8x32 binoculars for twenty of those years. And some came from the expensive education of buying the wrong binoculars first. My initial 10x50 pair cost $180, weighed 47 ounces, had 12mm of eye relief, and couldn't focus on anything closer than 20 feet. They lasted six months before I admitted defeat. The 8x42 roof prism binoculars I bought afterward, at $240, have been in daily use for three years. That $420 total in binocular education taught me more about optics specifications than any buying guide.
This is what I wish someone had told me before I spent that first $180.
Key Takeaways
- 8x42 binoculars produce a 5.25mm exit pupil, delivering near-optimal light transmission at dawn and dusk when birding is most active.
- Set close focus distance under 8 feet to watch birds at feeders within 6–10 feet of your window.
- Eyeglass wearers need at least 15mm of eye relief; 17–18mm allows full field of view without removing glasses.
- Choose fully multi-coated, nitrogen-purged binoculars—both specs together confirm sound optical and mechanical fundamentals.
- Calibrate the diopter ring for your weaker eye and mark the position with tape to eliminate the most common source of blurry images.
Why 8x42 Is the Benchmark for Bird Watching
The number pairing in binocular specifications tells you two things: magnification and objective lens diameter. An 8x42 binocular magnifies eight times and has a 42mm front lens. That combination isn't arbitrary, and it isn't just popular because of marketing. It exists because it solves the specific optical problems that bird watching creates.
The Magnification Argument
Ten-power magnification sounds better than eight-power. More zoom means more detail, which means better birding. This is the logic that led me to buy 10x50 binoculars as my first pair, and it's the same logic that leads a lot of new birders astray.
Higher magnification amplifies everything, including hand tremor. At 10x, a slight shake in your hands translates into significant image movement. Birds, which rarely hold still, become even harder to track. The field of view also narrows with increased magnification, which means finding a bird in the first place becomes more difficult. You're looking through a tighter window at a moving target.
Eight-power magnification hits a practical sweet spot. The image is stable enough to hold by hand without image shake becoming distracting, the field of view is wide enough to find birds quickly, and the detail is sufficient for identification at typical backyard and woodland distances. Professional field ornithologists, including my mother, overwhelmingly use 8x or 10x binoculars with 8x remaining dominant for general field work precisely because of this stability advantage.
The 42mm Objective Lens
The 42mm lens diameter determines how much light enters the binocular. More light means brighter images, which matters most in low-light conditions: dawn, dusk, deep shade under forest canopy, overcast days.
The exit pupil calculation tells you how much of that light actually reaches your eye. Divide the objective lens diameter by the magnification: 42 divided by 8 equals 5.25mm. Human pupils dilate to roughly 5-7mm in low light and contract to 2-3mm in bright conditions. A 5.25mm exit pupil means your 8x42 binoculars deliver nearly optimal light transmission in low-light conditions, when you're most likely to need it.
Compare this to 8x32 binoculars, which produce a 4mm exit pupil. My mother's 8x32 binoculars, which she paid $180 for in 2004 (roughly $280 in today's money), perform beautifully in full daylight because her eyes don't need the extra light. For dedicated field research in controlled conditions, 8x32 is a reasonable choice. For backyard watching that starts at 6:45 AM, when light is still building, or for woodland walks where canopy shade reduces available light, the larger objective lens of the 8x42 configuration provides a meaningful advantage.
The weight trade-off is real. My current 8x42 binoculars weigh 24 ounces. My mother's 8x32 binoculars weigh 18 ounces. For all-day field work, six ounces matters. For most recreational bird watching, it doesn't.
The Specifications That Actually Matter
Magnification and objective lens diameter get all the attention, but three other specifications determine whether a pair of binoculars will actually work for you.
Close Focus Distance
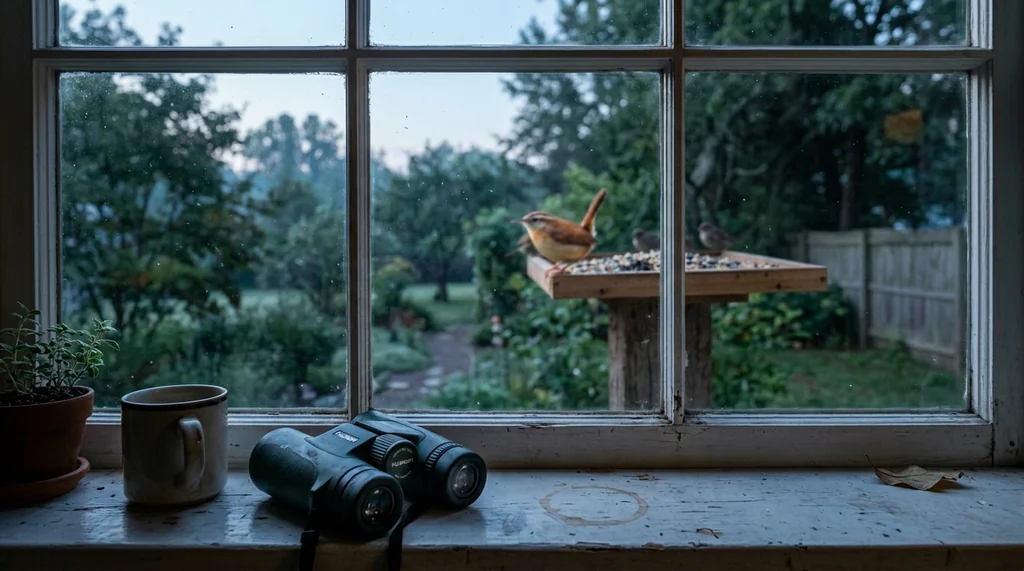
My first binoculars couldn't focus on anything within 20 feet. This seems like an edge case until you're trying to watch a towhee scratching through leaf litter eight feet from your window, or a hummingbird hovering at a feeder on your deck railing. Close focus distance matters enormously for backyard birding specifically.
My current 8x42 binoculars have a 6.5-foot close focus distance. This allows me to watch birds at my feeders from a few feet away through glass, which changes the quality of observation entirely. When evaluating any 8x42 binoculars, look for close focus distances under 8 feet. Some premium models achieve 5 feet or less, which opens up butterfly and dragonfly watching as a secondary benefit.
Eye Relief and Eyecups
Eye relief is the distance between the eyepiece lens and the point where your eye needs to be to see the full field of view. This specification exists primarily for eyeglass wearers, but it affects everyone.
My husband David wears glasses. His 8x42 binoculars have 18mm of eye relief with adjustable eyecups, which allows him to use them comfortably with his glasses on. Eyeglass wearers should look for 15mm of eye relief as a minimum, with 17-18mm being genuinely comfortable. Anything under 14mm with glasses typically means losing part of the field of view around the edges.
For non-eyeglass wearers, eye relief under 14mm isn't a problem, but adjustable twist-up eyecups remain important. They allow you to position your eye at the correct distance from the lens regardless of your anatomy. Binoculars with fixed rubber eyecups that have degraded or deformed over time are a common source of unexplained image quality problems.
My own 8x42 binoculars have 18mm of eye relief, which I chose specifically so that David and I could share them. That flexibility has proven worth the consideration.
Field of View
Field of view describes how wide a swath of landscape you can see through the binoculars at a given distance, typically measured in feet at 1,000 yards. My current binoculars have a 420-foot field of view at 1,000 yards.
For bird watching, wider field of view makes finding and tracking birds faster. A 420-foot field of view is solid for general use. Premium wide-angle designs can reach 450 feet or more, which makes a perceptible difference when following birds through dense vegetation or tracking shorebirds in flight. Budget binoculars often fall below 340 feet, which creates a noticeably tunnel-like viewing experience.
When comparing binoculars, field of view is one specification where spending more money typically delivers measurable improvement.
Prism Types: Roof vs. Porro
Two optical designs dominate binocular construction, and the choice between them involves real trade-offs.
Roof Prism Binoculars
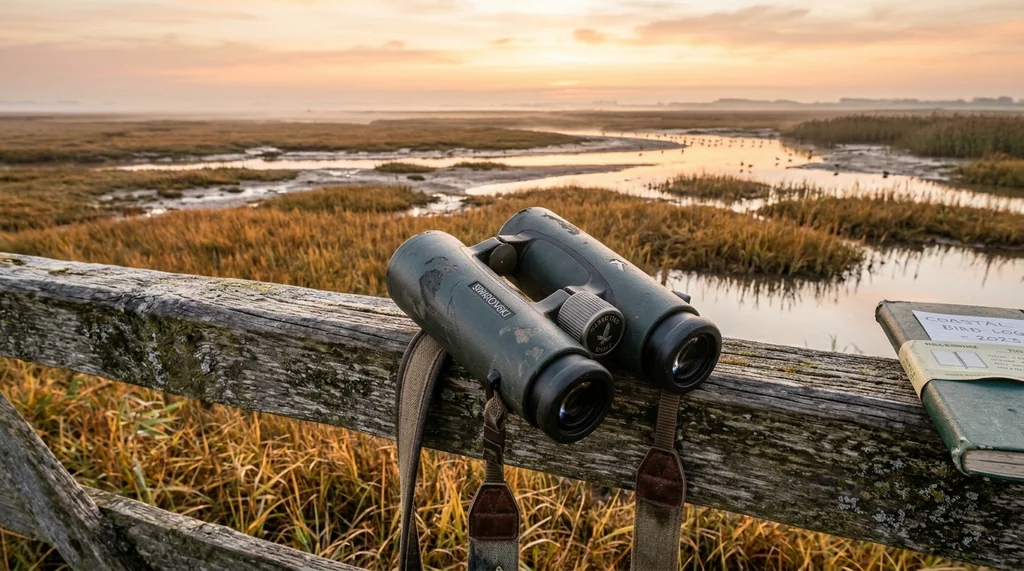
Roof prism binoculars have the straight-barreled profile most people picture when they imagine modern binoculars. The prisms are aligned directly with the objective lens and eyepiece, creating a compact, streamlined shape. They're easier to waterproof and seal against dust, and the straight design makes them feel more balanced and natural to hold for extended periods.
The optical trade-off is that roof prisms require phase-correction coatings to achieve the same image contrast as porro prisms. Without phase correction, roof prism binoculars can produce images with slightly lower contrast and color fidelity, particularly at higher price points where the difference becomes visible. Quality roof prism binoculars include this coating; budget models often don't.
My current binoculars are roof prism, fully multi-coated, and have served daily observation for three years without any degradation in performance.
Porro Prism Binoculars
Porro prism binoculars have the offset-barrel design that looks slightly old-fashioned but remains optically excellent. Tom at the hardware store, who has let me test binoculars at home more times than I can count, uses porro prism binoculars himself. He calls them underappreciated.
He's not wrong. Porro prisms deliver excellent three-dimensional depth perception and typically offer better optical performance per dollar than roof prisms at the same price point. The trade-off is bulk, weight, and less effective waterproofing. For backyard use, these trade-offs are minimal. For field use in rain, the sealing advantage of roof prisms becomes significant.
If budget is a primary constraint and you're doing most of your watching from home or in dry conditions, porro prism binoculars at a given price point will often outperform roof prism binoculars at the same price.

Optical Coatings: What the Labels Mean
Binocular manufacturers use coating terminology that sounds technical but follows a fairly simple hierarchy.
Coated: A single anti-reflection coating on some lens surfaces. Found on budget binoculars. Acceptable light transmission.
Fully Coated: Single-layer coatings on all air-to-glass surfaces. Better than coated, still not optimal.
Multi-Coated: Multiple layers of anti-reflection coating on some surfaces. Noticeably better contrast and brightness.
Fully Multi-Coated: Multiple layers on all surfaces. This is the standard to look for in any binoculars intended for serious bird watching.
The difference between fully coated and fully multi-coated is visible in side-by-side comparison, particularly in challenging light. Images through fully multi-coated optics appear brighter, have better color accuracy, and show more detail in shadows. At the $150-200 entry level for genuinely useful birding binoculars, fully multi-coated optics are achievable. Below that price point, compromises in coating quality are common.
Waterproofing and Durability
Bird watching happens in conditions that aren't always cooperative. Morning dew, unexpected rain, and the general humidity of being outdoors mean waterproofing matters more than many buyers anticipate before their first wet outing.
Look for nitrogen-purged or argon-purged binoculars with O-ring sealing. Nitrogen purging replaces internal air with inert gas, preventing internal fogging when temperature changes rapidly. This is the specification that explains why quality binoculars don't fog internally when you bring them from a cold car into a warm house. Budget binoculars without this treatment will eventually fog internally and cannot be cleaned without factory service.
Waterproofing ratings vary. Some binoculars are water-resistant, meaning they handle rain and splashes. Others are submersible to specific depths for defined periods. For bird watching, water-resistant is sufficient for most users. The important thing is that the sealing exists at all.
What to Budget
Genuinely useful 8x42 binoculars start around $150-200. Below that threshold, compromises in optical coatings, prism quality, or mechanical construction become significant enough to affect the watching experience. The image may be technically functional but will lack the brightness, contrast, and edge-to-edge sharpness that makes extended observation enjoyable.
The $200-400 range covers solid mid-range binoculars with fully multi-coated optics, good waterproofing, and reliable mechanics. My current pair at $240 falls here, and three years of daily use has validated that choice.
Above $400, improvements become incremental rather than transformative. Premium binoculars in the $600-1,500 range offer exceptional optical performance, particularly in edge sharpness, color fidelity, and low-light capability. For serious field ornithologists or anyone doing regular dawn and dusk observation, the investment is justified. For most backyard birders, the mid-range delivers 90% of the performance at a fraction of the cost.
The single most reliable indicator of value within a price range is whether a binocular is fully multi-coated and nitrogen-purged. If both boxes are checked, the fundamentals are sound.
Using Your Binoculars Effectively
The best binoculars in the world underperform if you're using them incorrectly. Two adjustments make a significant difference.
First, set the diopter. The diopter adjustment, usually a ring around the right eyepiece, compensates for differences between your eyes. Most people's eyes aren't perfectly matched. Cover the right objective lens, focus on a stationary object using the center focus wheel with your left eye, then cover the left objective lens and adjust the diopter until the same object is sharp with your right eye. Once set, mark the position with a small piece of tape. This adjustment is responsible for more binocular dissatisfaction than any optical specification.
Second, consider a support system for extended watching. I use a $25 tabletop tripod by the kitchen window for watching the cardinal pair that returns each season. Handheld viewing over ten or fifteen minutes creates fatigue that a simple mount eliminates entirely. For 8x42 binoculars, any standard tripod adapter will work with a binocular tripod mount, which attaches to the central hinge.
The combination of properly adjusted optics and occasional support transforms binoculars from a tool you use occasionally into one you reach for every morning.
Choosing the right 8x42 binoculars doesn't require spending a fortune or decoding every specification on the box. Fully multi-coated optics, nitrogen purging, 6-8 foot close focus, and 17mm or more of eye relief will serve the vast majority of bird watchers well. The rest is personal preference and budget. Three years of daily use have confirmed that the right pair, chosen thoughtfully, becomes as essential to morning bird watching as the coffee you're holding when you raise them.